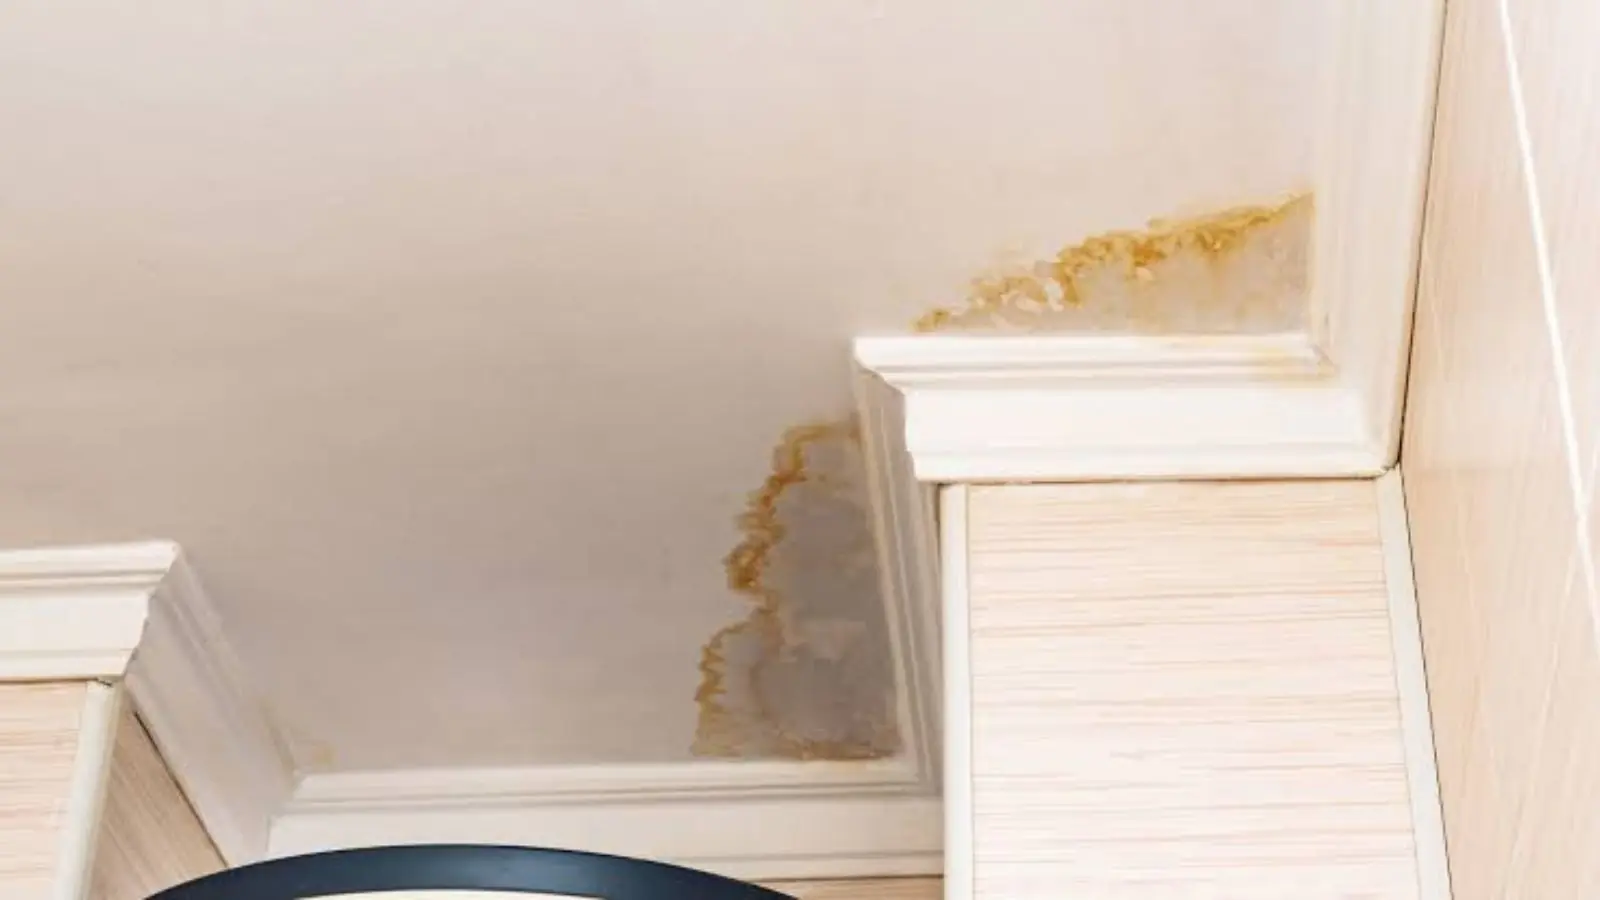
Before You Start: The Leak Must Be Over
This guide is for the finish work, after the leak has been repaired and the ceiling is dry. If you are not certain of either, stop and confirm. A patch over a wet cavity will stain through, and a patch over an active leak will fail within weeks.
A moisture meter is the simplest check. Readings on the damaged area should match readings on an unaffected part of the same ceiling. If the numbers are still high, give the area more time and more airflow.
Tools and Materials
- Moisture meter, utility knife and drywall saw
- Drywall patch material that matches the existing thickness
- Joint compound, mesh or paper tape, and a taping knife
- Stain-blocking primer and ceiling paint
- Dust mask, safety glasses, drop cloths and a ladder
- Wood strips or scrap for backing if the opening has no framing
The Repair, Step by Step
Test and mark
Check the ceiling with a moisture meter. Mark soft or stained areas with a pencil, extending past the visible edge.
Protect the room
Cover the floor and furniture. Turn off the power to ceiling fixtures near the work area.
Cut out the damaged drywall
Cut a square or rectangle out past the damage, ideally to the nearest joists. Remove and bag any wet insulation.
Check the cavity
Look above the opening for dampness, staining on framing or signs of mold. If you see them, stop and get help.
Install backing
Screw wood strips to the joists or the sides of the opening so the new patch has something to attach to.
Fit the patch
Cut new drywall to fit, screw it to the backing, and keep the surface flush with the ceiling.
Tape and coat
Apply tape over the seams, then thin coats of joint compound, letting each dry fully before sanding.
Prime
Use a stain-blocking primer over the patch and any old stain, or the stain may reappear.
Paint
Paint the whole ceiling, or at least a full section to corner or break, so there is no visible patch line.
Common Mistakes
The most common mistake is patching too soon. A ceiling that feels dry to the touch can still hold moisture in the drywall and the insulation. The second most common is skipping primer, because ordinary paint lets the old stain bleed through.
Another is making the patch too small. The cut should extend to solid, dry material, not just remove the stain. A patch that is too small leaves wet or weakened drywall at the edges.
| Problem | Likely cause | Fix |
|---|---|---|
| Stain returns through the paint | Leak not fully stopped or no stain-blocking primer | Confirm the source, prime with stain blocker, repaint |
| Patch shows as a visible line | Texture or sheen does not match | Feather the compound, match the texture, paint the full ceiling |
| Seams crack after drying | Compound applied too thick or tape not embedded | Re-tape and apply thinner coats |
| Musty smell after repair | Moisture still in the cavity | Reopen and dry, then check for mold |
Unsure whether your ceiling is dry?
Call the 24/7 line. Moisture readings can answer it before you patch.
Matching Texture
Textured ceilings are harder to patch than flat ones. Spray-on texture in a can matches some finishes, while knockdown and orange peel textures may need a hopper gun. Test on a scrap piece first and let it dry, since texture looks different wet.
If your home was built before 1980, do not scrape or cut a textured ceiling until the material has been tested. Older textures may contain asbestos.
When It Is More Than Cosmetic
Call a crew if the cut-out shows wet insulation across a large area, dark growth on the framing or a source that is still active. Also call if the water came from a toilet or sewer line, which means the materials are contaminated and should be removed, not patched.
In condos and apartments, the water may have come from above. Document the damage and report it in writing before you repair anything, so the responsible party and insurer can inspect it.
Taping and Sanding Tips
Thin coats are the secret. Compound applied thick will crack as it dries and takes much longer to cure. Apply a thin first coat to embed the tape, let it dry fully, then add two wider coats, feathering the edges beyond the patch.
Sand lightly with a fine sanding sponge, and wipe the dust away before priming. Sanding overhead is tiring and dusty, so wear a mask and eye protection and use a pole sander if you have one. Check the surface by holding a light at a low angle. Flaws show clearly in raking light.
Painting and Drying Between Coats
Use ceiling paint, which is flatter and spatters less than wall paint. Apply primer first, then at least one full coat across the whole ceiling or to a natural break. Let each coat dry as the label directs before adding the next.
Keep the room ventilated while paint dries, and avoid humid days. If you see the stain reappear through the primer, the cause may not be fully fixed, and the area should be checked again with a moisture meter.
Paint, Lead and Older Beverly Hills Homes
Beverly Hills has many homes built before 1978, the year lead-based paint was banned for residential use in the United States. Sanding or scraping old paint on ceilings and trim can create lead dust.
According to U.S. Environmental Protection Agency guidance, lead-safe work rules apply to many renovation jobs in pre-1978 housing. If your home is older, use a contractor trained in those practices or have the paint tested before sanding.
Source type: U.S. Environmental Protection Agency lead renovation guidance
Ceiling repair questions
Until moisture readings match an unaffected area. That can take days or longer, depending on how wet the materials got. A dry feel is not enough.
Often yes for small repairs, but check your governing documents and tell building management first. If the water came from a shared pipe, wait until the cause is documented.
Yes. Homes built before 1978 may have lead paint, and textured ceilings from before 1980 may contain asbestos. Test before sanding or scraping.
For the full process, including drying and rebuild, see water damage repair and water mitigation. Crews also work in West Hollywood, and the service area page shows how far they travel.